How to Change Landscape to Portrait in PowerPoint: A Comprehensive Guide
PowerPoint presentations are a staple in the business world, education sector, and beyond. Whether you’re delivering a sales pitch, teaching a class, or presenting research findings, PowerPoint offers a versatile platform to convey your message effectively. However, sometimes the default landscape orientation doesn’t quite fit your needs. You might want to switch to portrait orientation to better accommodate vertical images, long lists, or specific design requirements. This article provides a step-by-step guide on how to change landscape to portrait in PowerPoint, ensuring your presentations are visually appealing and perfectly suited to your content.
Understanding PowerPoint Orientation
Before diving into the process of changing orientation, it’s important to understand the basics of PowerPoint’s slide size and orientation settings. By default, PowerPoint uses a landscape orientation, which is wider than it is tall. This is suitable for most presentations, especially those displayed on wide screens. However, a portrait orientation, which is taller than it is wide, can be more effective for certain types of content. Knowing how to change landscape to portrait in PowerPoint gives you the flexibility to tailor your presentation to your specific needs.
Step-by-Step Guide: Changing Orientation in PowerPoint
The process for changing the orientation in PowerPoint is straightforward. Here’s a detailed guide:
Accessing Slide Size Settings
- Open Your PowerPoint Presentation: Start by opening the PowerPoint presentation you wish to modify.
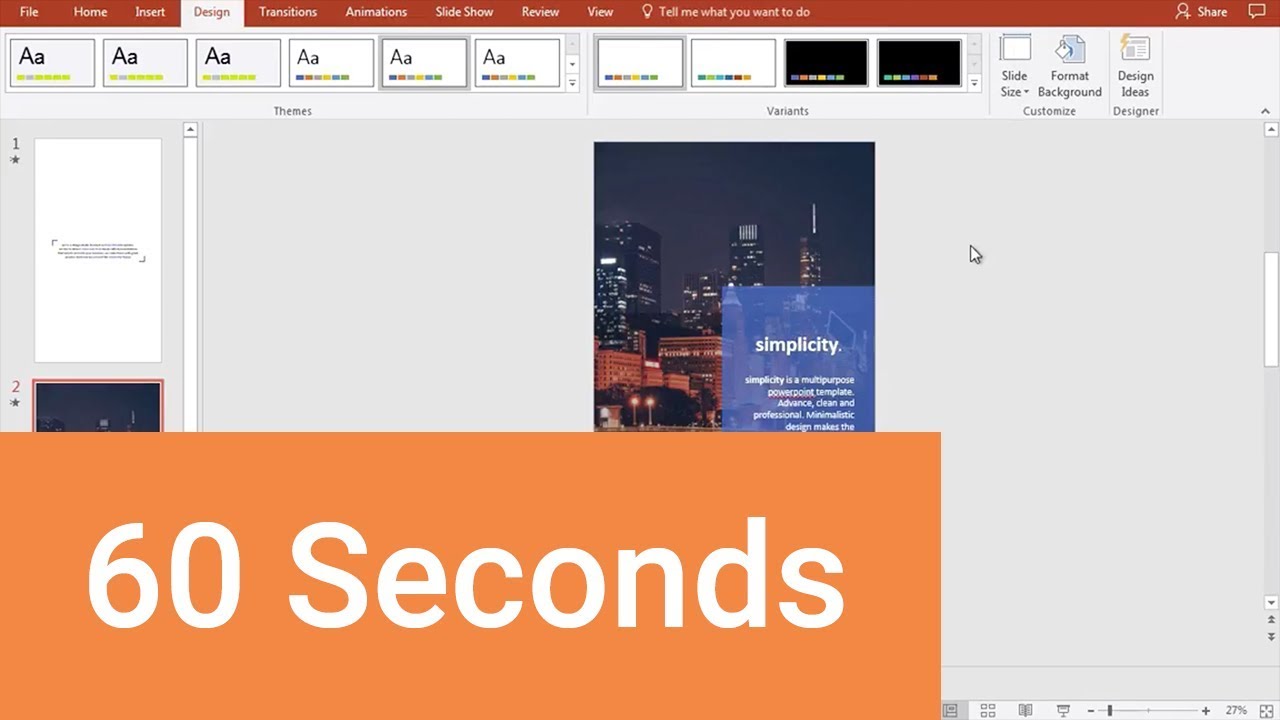
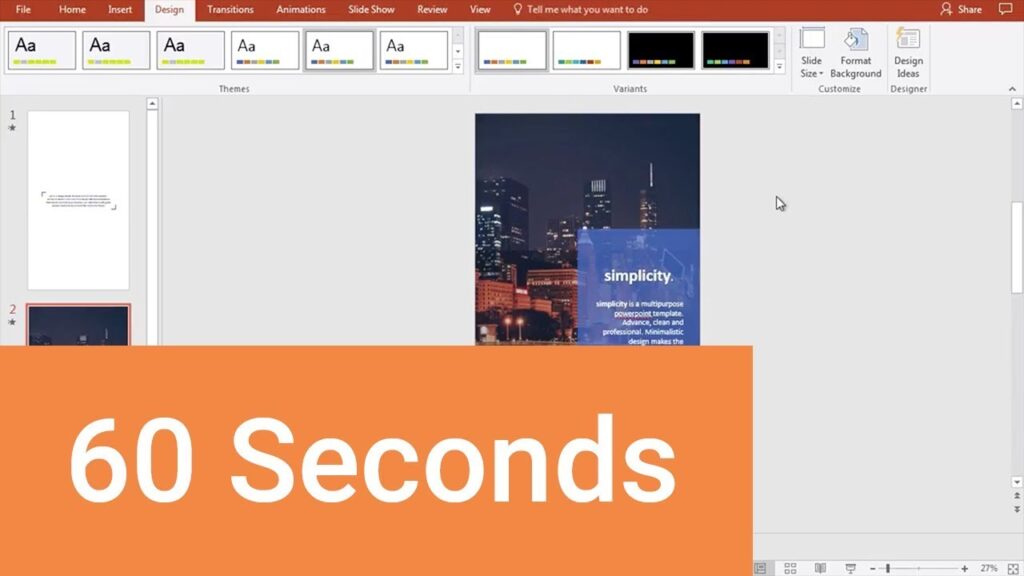
- Navigate to the Design Tab: In the PowerPoint ribbon, click on the “Design” tab. This tab houses various design-related options, including slide size and orientation.
- Locate the Slide Size Option: Within the “Design” tab, look for the “Slide Size” option. It is typically located on the right side of the ribbon, within the “Customize” group.
Changing to Portrait Orientation
- Click on Slide Size: Click the “Slide Size” button to reveal a dropdown menu.
- Select Custom Slide Size: From the dropdown menu, choose “Custom Slide Size…” This will open the “Slide Size” dialog box.
- Adjust the Width and Height: In the “Slide Size” dialog box, you’ll see fields for “Width” and “Height.” To change to portrait orientation, you need to make the height larger than the width. For example, you might set the width to 8.5 inches and the height to 11 inches, which is the standard size for a letter-sized document.
- Choose Orientation: Below the width and height settings, you’ll find the “Orientation” section. Here, you can select either “Slides” or “Notes, Handouts & Outline.” For the slides themselves, choose “Portrait.”
- Click OK: Once you’ve set the desired width, height, and orientation, click the “OK” button to apply the changes.
Handling Content Scaling
After clicking “OK,” PowerPoint will prompt you with a dialog box asking how you want to scale your existing content to fit the new slide size. You’ll have two options:
- Maximize: This option scales your content to fill the entire slide, potentially cropping some elements.
- Ensure Fit: This option shrinks your content to ensure everything fits within the new slide dimensions, potentially leaving some empty space.
Choose the option that best suits your content and design. “Ensure Fit” is often the safer choice, as it prevents any elements from being cut off. However, if you want to maximize the use of space and don’t mind some minor cropping, “Maximize” might be preferable. This step is crucial when considering how to change landscape to portrait in PowerPoint without distorting your visual elements.
Considerations Before Changing Orientation
Before you commit to changing the orientation of your PowerPoint presentation, consider the following factors:
Content Compatibility
Think about how your content will look in portrait orientation. Will your images and charts still be effective? Will your text be easy to read? If your presentation relies heavily on wide images or diagrams, portrait orientation might not be the best choice. Evaluate each slide to determine if the content is suitable for the new format. Sometimes, minor adjustments to the layout can make a significant difference.
Target Audience and Display Method
Consider how your presentation will be displayed. If you’re presenting on a wide screen, portrait orientation might result in significant empty space on either side of the slides. However, if you’re sharing the presentation digitally on tablets or smartphones, portrait orientation might be more natural and user-friendly. Understanding your audience and the display method is key to making an informed decision about orientation. The goal is to ensure the presentation is easily viewed and understood regardless of the viewing platform. Knowing how to change landscape to portrait in PowerPoint is one thing, but knowing when it’s appropriate is just as important.
Design Consistency
If you’re working with a pre-designed template or a set of branding guidelines, ensure that the portrait orientation aligns with the overall design aesthetic. Changing the orientation might require significant adjustments to the layout, color scheme, and typography. Maintaining design consistency is crucial for creating a professional and cohesive presentation. If the portrait orientation clashes with the existing design, it might be better to stick with the default landscape setting. This careful consideration is essential for creating a polished and professional presentation.
Tips for Optimizing Portrait Presentations
Once you’ve changed to portrait orientation, here are some tips for optimizing your presentation:
Use Vertical Images and Graphics
Take advantage of the vertical space by incorporating images and graphics that are taller than they are wide. This will help fill the slide and make the presentation more visually appealing. Vertical photos, infographics, and charts can be particularly effective in portrait orientation. Ensure the images are high-resolution to avoid pixelation. This maximizes the visual impact and prevents a cluttered look.
Break Up Text with Visuals
Portrait orientation can sometimes make text appear more dense. To avoid overwhelming your audience, break up long blocks of text with visuals such as images, charts, and diagrams. This will make the presentation more engaging and easier to follow. Use bullet points and short paragraphs to improve readability. Aim for a balance between text and visuals to maintain audience interest.
Adjust Font Sizes and Spacing
Experiment with different font sizes and spacing to ensure that your text is legible and visually appealing. You might need to increase the font size to compensate for the narrower slide width. Adjust the line spacing to improve readability. Use a clear and professional font that is easy on the eyes. These adjustments can greatly improve the overall aesthetic and readability of your presentation, especially after you change landscape to portrait in PowerPoint.
Utilize White Space
Don’t be afraid to leave some empty space on your slides. White space can help to create a clean and uncluttered look, making your content easier to digest. Avoid filling every inch of the slide with text or graphics. Strategic use of white space can draw attention to key elements and improve the overall visual balance. This is particularly important in portrait orientation, where space can feel more limited.
Troubleshooting Common Issues
Sometimes, changing the orientation in PowerPoint can lead to unexpected issues. Here are some common problems and how to fix them:
Content Distortion
If your content appears distorted after changing the orientation, try selecting the “Ensure Fit” option when prompted to scale your content. This will prevent elements from being stretched or compressed. You may also need to manually adjust the size and position of individual elements to ensure they look correct. Always review each slide carefully to identify and correct any distortions.
Image Quality Degradation
If your images appear blurry or pixelated after changing the orientation, it’s likely due to scaling. Try using higher-resolution images or resizing the images to fit the new slide dimensions without excessive scaling. Avoid enlarging small images, as this will always result in a loss of quality. Replacing low-resolution images with higher-quality versions is often the best solution.
Template Incompatibility
If you’re using a pre-designed template, it might not be fully compatible with portrait orientation. You may need to modify the template or choose a different template that is specifically designed for portrait presentations. Consider creating your own custom template to ensure it perfectly suits your needs. Template incompatibility can lead to layout issues and design inconsistencies.
When to Use Portrait Orientation
While landscape orientation is the standard for most PowerPoint presentations, there are specific scenarios where portrait orientation can be more effective:
- Mobile Presentations: If your presentation is primarily viewed on mobile devices, portrait orientation can provide a more natural and user-friendly viewing experience.
- Printed Handouts: If you’re printing your presentation as handouts, portrait orientation can better align with standard paper sizes.
- Vertical Data Visualization: For presentations that heavily rely on vertical data visualizations, such as bar graphs or timelines, portrait orientation can provide a more comprehensive view.
- Artistic Presentations: If you are showcasing vertically oriented art or photographs, portrait orientation may be preferred.
Understanding when to change landscape to portrait in PowerPoint is crucial for creating a compelling presentation that effectively delivers your message.
Conclusion
Knowing how to change landscape to portrait in PowerPoint is a valuable skill that can enhance the versatility and effectiveness of your presentations. By following the steps outlined in this guide, you can easily switch between orientations and optimize your content for different display methods and audiences. Remember to consider content compatibility, target audience, and design consistency before making the change. With a little planning and attention to detail, you can create visually stunning and impactful presentations that leave a lasting impression. Understanding how to change landscape to portrait in PowerPoint allows you to tailor your presentation to meet your specific needs. Whether you’re optimizing for mobile viewing, creating printed handouts, or showcasing vertical data, changing the orientation can significantly improve the overall impact of your presentation. By mastering these techniques, you can create presentations that are not only informative but also visually engaging and perfectly suited to your content.
[See also: How to Create Engaging PowerPoint Presentations]
[See also: Best PowerPoint Design Tips for Beginners]
