Simple Henna Tattoo Designs for Hands: A Guide to Elegant and Easy Mehndi
Henna, also known as mehndi, has been used for centuries as a form of body art, particularly in South Asia, the Middle East, and Africa. Its rich cultural significance and natural beauty have made it a popular choice for celebrations, festivals, and personal adornment. While intricate and elaborate designs can be stunning, simple henna tattoo designs for hands offer a more accessible and equally beautiful option. This guide explores the world of simple henna tattoo designs for hands, providing inspiration, tips, and practical advice for creating your own elegant mehndi art.
The Allure of Simple Henna Designs
Why choose simple henna tattoo designs for hands? Several factors contribute to their appeal:
- Ease of Application: Simpler designs are easier to apply, especially for beginners. They require less precision and time, making them perfect for those new to henna art.
- Time Efficiency: Applying intricate designs can take hours. Simple henna tattoo designs for hands can be completed much faster, ideal for busy individuals or last-minute events.
- Versatility: Simple designs can be easily adapted to suit different occasions and personal styles. They can be minimalist, geometric, floral, or abstract, offering endless possibilities.
- Accessibility: Simple designs are more accessible to everyone. You don’t need to be a professional artist to create beautiful and meaningful henna art.
- Focus on Elegance: Sometimes, less is more. Simple henna tattoo designs for hands often emphasize elegance and understated beauty, allowing the natural color of the henna to shine.
Essential Tools and Materials for Henna Application
Before you begin, gather the necessary tools and materials:
- Henna Paste: Choose a high-quality, natural henna paste. Pre-made cones are convenient, but you can also mix your own paste using henna powder, essential oils (like lavender or tea tree), and lemon juice. Always test a small amount of henna paste on your skin to check for allergies.
- Applicator: Henna is typically applied using a cone or a syringe applicator. Cones are easier to handle for beginners, while syringes offer more precision for intricate details.
- Design Stencils (Optional): Stencils can be helpful for creating symmetrical or complex patterns, especially if you’re new to henna art.
- Lemon-Sugar Mixture: After applying the henna, seal the design with a mixture of lemon juice and sugar. This helps to keep the henna moist and allows for better dye release.
- Cotton Balls or Tissues: Use these to wipe away any mistakes or excess henna paste.
- Gloves: Wearing gloves can protect your hands from staining during the application process.
- Eucalyptus or Lavender Oil: Applying a small amount of eucalyptus or lavender oil to the skin before applying henna can enhance the stain.
Inspiration: Simple Henna Tattoo Designs for Hands
Here are some inspiring ideas for simple henna tattoo designs for hands:
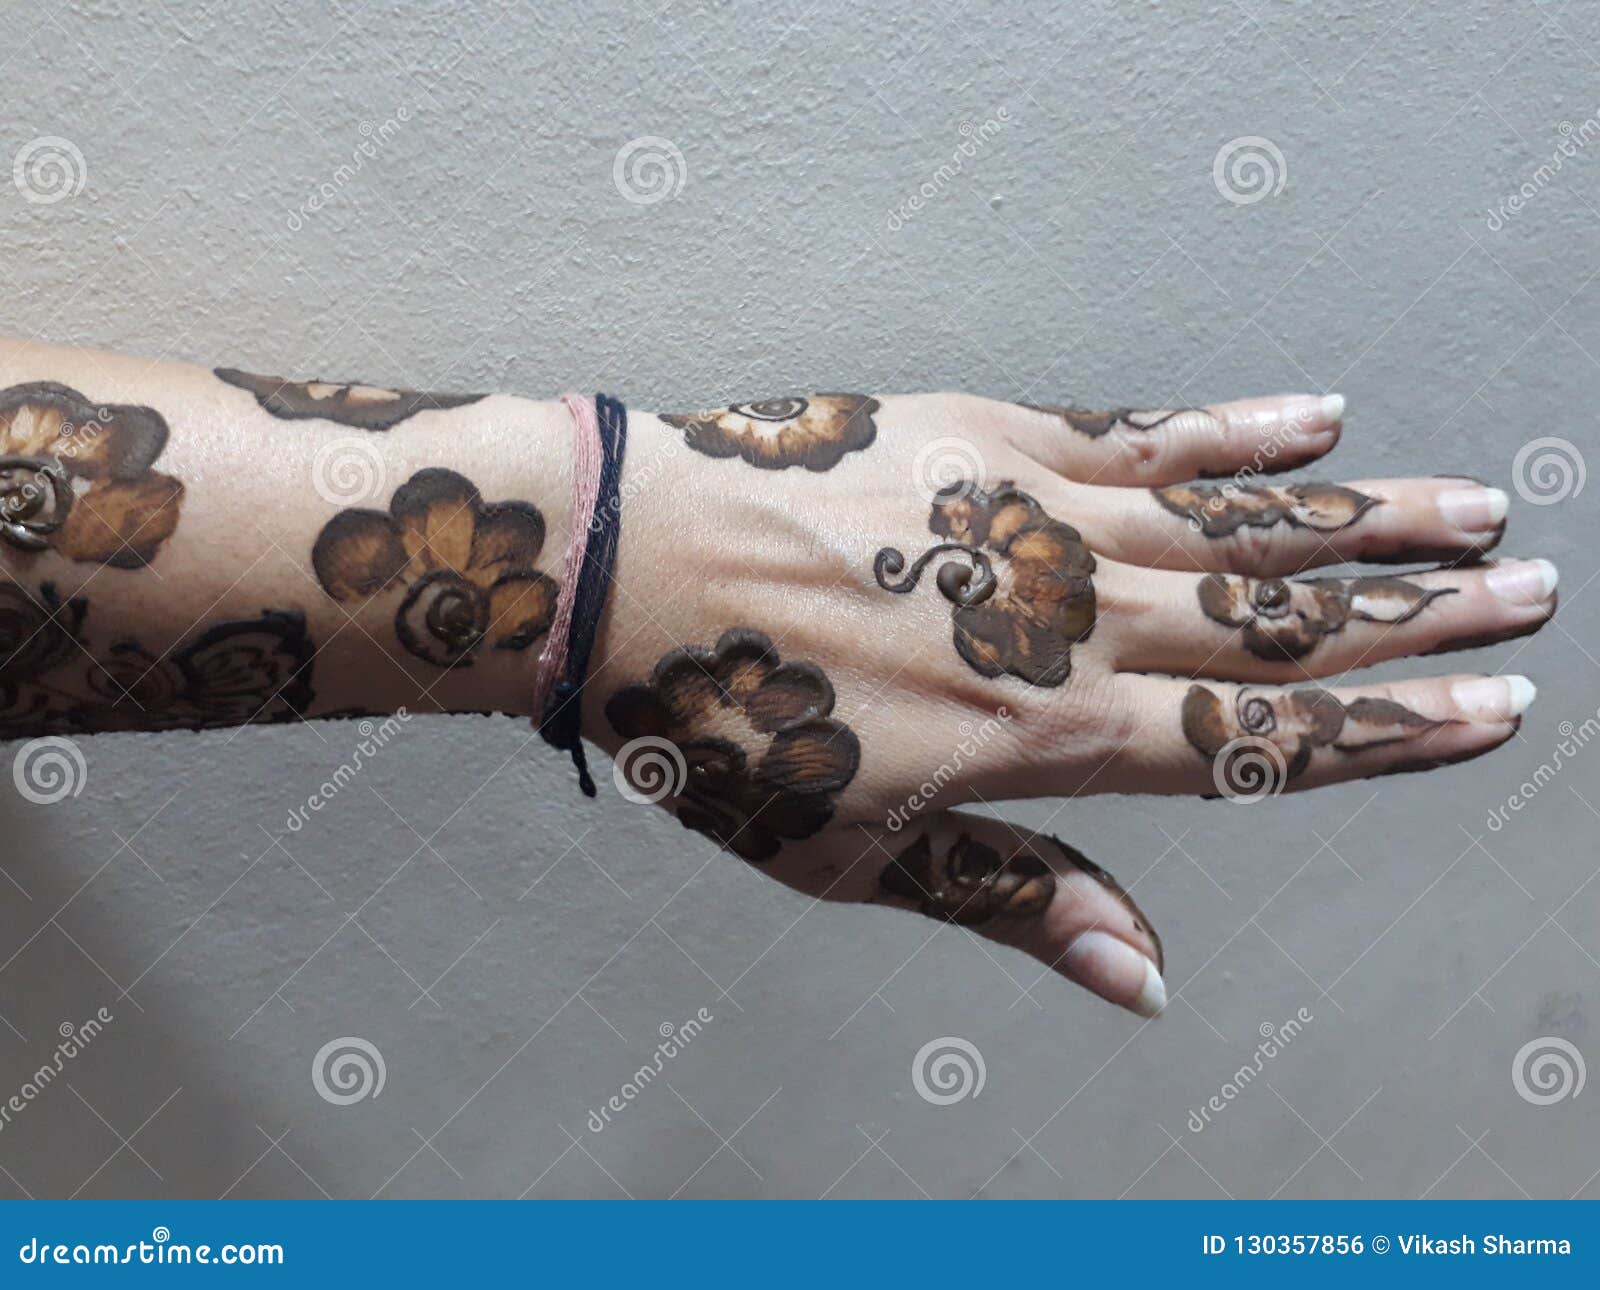
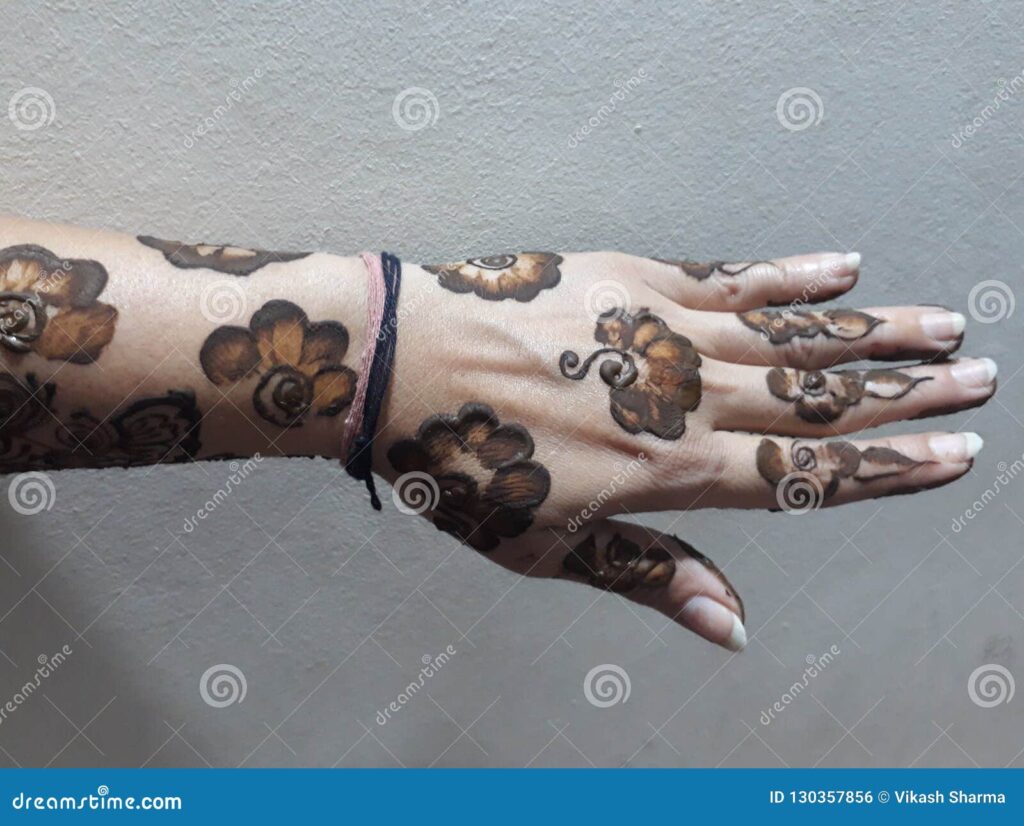
Floral Motifs
Floral designs are a classic choice for henna art. Simple henna tattoo designs for hands can incorporate single flowers, vines, or small clusters of blossoms. Focus on clean lines and basic shapes to create an elegant and understated look. A single lotus flower on the palm or a delicate vine winding around the wrist are excellent options. These designs are timeless and can be easily customized with personal touches.
Geometric Patterns
Geometric patterns offer a modern and minimalist aesthetic. Think simple lines, dots, triangles, and squares arranged in symmetrical or asymmetrical designs. Geometric simple henna tattoo designs for hands are perfect for those who prefer a more contemporary look. Consider a series of dots along the fingers or a simple triangular pattern on the back of the hand. [See also: Geometric Mehndi Designs]
Wristbands and Cuffs
A henna wristband or cuff is a simple yet striking design. This can be a continuous band of floral, geometric, or abstract patterns around the wrist. Keep the design relatively simple and avoid overcrowding the area. A simple vine with leaves or a series of small geometric shapes can create a beautiful and elegant wristband. These designs are quick to apply and make a bold statement.
Finger Designs
Focusing on the fingers is a great way to create simple henna tattoo designs for hands. You can apply small dots, lines, or simple floral patterns to each finger. Keep the designs consistent across all fingers for a cohesive look. A single dot on each finger joint or a simple line running down the side of each finger are easy and effective options. These designs are subtle and refined.
Palm Designs
The palm offers a larger canvas for simple henna tattoo designs for hands. Consider a simple mandala design in the center of the palm or a single, stylized flower. Keep the design balanced and avoid overcrowding the space. A simple sunburst pattern or a stylized peacock feather can also be beautiful choices. Palm designs can be particularly meaningful, with the placement of the henna believed to have symbolic significance.
Abstract Patterns
Abstract designs allow for creativity and self-expression. Simple henna tattoo designs for hands can incorporate swirls, curves, and other free-flowing patterns. These designs don’t need to be symmetrical or perfectly aligned, making them a great option for beginners. Experiment with different shapes and lines to create a unique and personal design. Abstract patterns can be particularly striking when applied to the back of the hand or along the fingers.
Step-by-Step Guide to Applying Simple Henna Designs
- Prepare Your Skin: Wash your hands thoroughly with soap and water. Exfoliate gently to remove any dead skin cells. Apply a small amount of eucalyptus or lavender oil to the area where you’ll be applying the henna.
- Plan Your Design: Sketch out your design on paper or directly onto your skin using a light-colored eyeliner pencil. This will help you visualize the final result and ensure that you’re happy with the placement.
- Apply the Henna Paste: Carefully apply the henna paste using a cone or syringe applicator. Hold the applicator at a slight angle and apply gentle pressure to release the paste. Follow your design, keeping the lines clean and consistent.
- Correct Mistakes: Use a cotton ball or tissue to wipe away any mistakes or excess henna paste immediately.
- Seal the Design: Once you’ve finished applying the henna, seal the design with a mixture of lemon juice and sugar. Gently dab the mixture onto the henna paste using a cotton ball. Repeat this process every 15-20 minutes for the first hour.
- Allow the Henna to Dry: Allow the henna to dry completely. This can take anywhere from 30 minutes to several hours, depending on the humidity and temperature. Avoid touching or smudging the design during this time.
- Remove the Henna Paste: Once the henna is dry, gently scrape off the dried paste. Avoid washing your hands with soap and water for at least 2-4 hours.
- Moisturize Your Skin: Apply a natural oil, such as coconut oil or olive oil, to moisturize your skin. This will help to protect the stain and keep your skin hydrated.
Tips for a Long-Lasting Henna Stain
Here are some tips to help your simple henna tattoo designs for hands last longer:
- Avoid Water: Minimize contact with water for the first 24 hours after applying the henna. If you need to wash your hands, use a mild soap and avoid scrubbing the area.
- Apply Natural Oils: Regularly apply natural oils, such as coconut oil or olive oil, to moisturize your skin. This will help to keep the stain vibrant and prevent it from fading.
- Avoid Harsh Chemicals: Avoid using harsh chemicals, such as chlorine or bleach, on the area where you have applied henna. These chemicals can cause the stain to fade prematurely.
- Stay Warm: Keeping your body warm can help to enhance the henna stain. Consider wrapping your hands in a warm cloth or sitting in a warm room for a few hours after applying the henna.
- Be Patient: The henna stain will continue to develop over the next 24-48 hours. Don’t be discouraged if the initial stain is light. The color will deepen over time.
The Cultural Significance of Henna
Henna holds deep cultural significance in many parts of the world. In South Asia, it is often used in wedding ceremonies, where the bride’s hands and feet are adorned with intricate henna designs. These designs are believed to bring good luck and prosperity to the marriage. In the Middle East and Africa, henna is used to celebrate various festivals and religious occasions. It is also used as a form of personal adornment and self-expression. Understanding the cultural significance of henna can add a deeper layer of meaning to your simple henna tattoo designs for hands.
Conclusion: Embrace the Beauty of Simplicity
Simple henna tattoo designs for hands offer a beautiful and accessible way to embrace the art of mehndi. Whether you’re a beginner or an experienced artist, there’s a simple design that’s perfect for you. By following the tips and inspiration provided in this guide, you can create your own elegant and meaningful henna art. Remember, the beauty of henna lies not only in its intricate designs but also in its rich cultural heritage and the personal connection it creates. So, gather your supplies, unleash your creativity, and enjoy the process of adorning your hands with simple henna tattoo designs for hands.
