
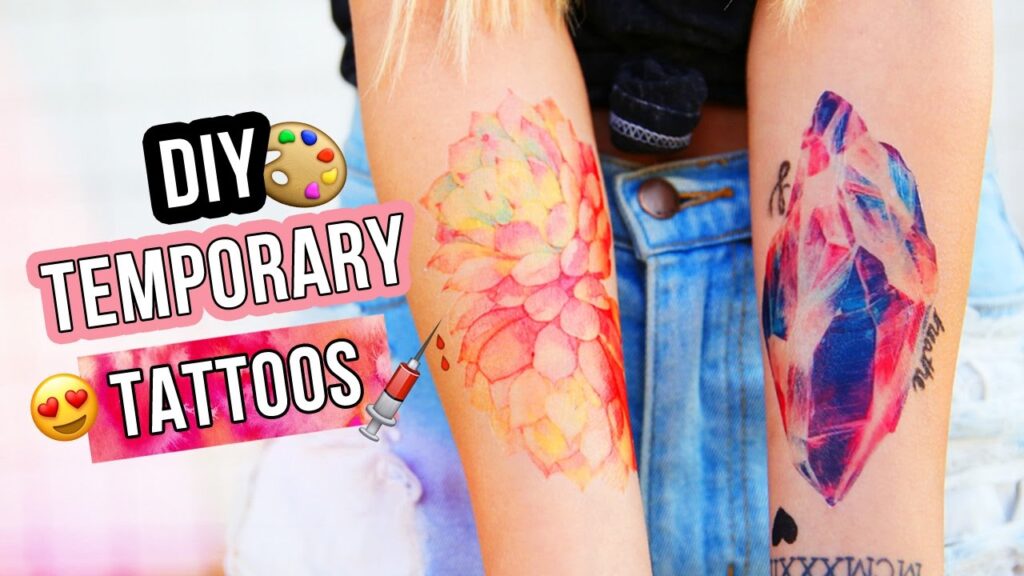
Design My Own Temporary Tattoo: A Comprehensive Guide
The allure of body art is undeniable, but the commitment of a permanent tattoo isn’t for everyone. That’s where temporary tattoos come in, offering a fun and flexible way to express yourself. But what if you could take it a step further and design my own temporary tattoo? The possibilities are endless, and the process is surprisingly accessible. This guide will walk you through everything you need to know, from the initial concept to applying your custom creation.
Why Design Your Own Temporary Tattoo?
There are countless reasons why someone might want to design my own temporary tattoo. Perhaps you’re testing out a design before committing to the real deal. Maybe you have a special event coming up, like a party or a concert, and want to create a unique look. Or perhaps you simply enjoy the creative process and want to explore your artistic side without the permanence. Whatever your reason, designing your own temporary tattoo offers a level of personalization that pre-made designs simply can’t match.
- Personal Expression: Create a design that truly reflects your personality and style.
- Test Before You Commit: See how a design looks on your skin before getting a permanent tattoo.
- Unique and Customizable: Stand out from the crowd with a one-of-a-kind creation.
- Fun and Creative: Enjoy the artistic process of designing your own temporary tattoo.
- Event-Specific Designs: Create temporary tattoos for parties, concerts, or other special occasions.
Getting Started: Brainstorming and Inspiration
The first step in designing your own temporary tattoo is to brainstorm ideas and gather inspiration. Consider what kind of message you want to convey, what style you prefer, and where you plan to place the tattoo on your body. Look at existing tattoos, artwork, and even everyday objects for inspiration. Websites like Pinterest, Instagram, and even tattoo artist portfolios can be excellent sources of ideas.
Think about the following:
- Theme: What is the overall theme of your design? (e.g., floral, geometric, abstract)
- Imagery: What specific images do you want to include? (e.g., animals, symbols, letters)
- Style: What style do you prefer? (e.g., minimalist, realistic, tribal)
- Color: Will your tattoo be black and white, or will you use color? Keep in mind that some temporary tattoo options may have limited color palettes.
- Size and Placement: How big do you want your tattoo to be, and where on your body will you place it?
Choosing the Right Method to Design My Own Temporary Tattoo
Several methods allow you to design my own temporary tattoo. Each method has its own advantages and disadvantages, so it’s important to choose the one that best suits your needs and skill level.
DIY Temporary Tattoos with Stencils and Markers
This is the simplest and most affordable method. You’ll need a stencil (either pre-made or one you create yourself), temporary tattoo markers, and rubbing alcohol. Clean the skin where you want to apply the tattoo, apply the stencil, and then carefully fill in the design with the markers. This method is great for simple designs and is a good option for beginners.
Pros:
- Inexpensive
- Easy to use
- Good for simple designs
Cons:
- Not as durable as other methods
- Limited color options
- Can be difficult to create intricate designs
Using Temporary Tattoo Paper
Temporary tattoo paper allows you to print your own designs using a standard inkjet or laser printer. You’ll need to create your design digitally, print it onto the tattoo paper, apply an adhesive sheet, and then apply the tattoo to your skin. This method is more versatile than using stencils and markers and allows for more complex designs and color options.
Pros:
- Allows for complex designs
- Supports color printing
- More durable than stencil and marker method
Cons:
- Requires a printer
- Can be more expensive than other methods
- Requires some digital design skills
Professional Temporary Tattoo Services
If you’re looking for the highest quality temporary tattoo and don’t want to do it yourself, you can hire a professional temporary tattoo artist. These artists use specialized airbrush equipment and FDA-approved temporary tattoo inks to create stunning and long-lasting designs. This is the most expensive option, but it offers the best results.
Pros:
- Highest quality results
- Long-lasting
- Wide range of colors and designs
Cons:
- Most expensive option
- Requires finding a reputable artist
- Less DIY involvement
Designing Your Tattoo: Digital Design vs. Hand-Drawn
Once you’ve chosen your method, you need to create your design. You can either design it digitally using graphic design software or draw it by hand. Digital design offers more precision and flexibility, while hand-drawing can give your tattoo a more unique and artistic look.
Digital Design
If you choose to design your tattoo digitally, you’ll need graphic design software such as Adobe Photoshop, Illustrator, or GIMP (a free alternative). These programs allow you to create intricate designs, add text, and manipulate images. Be sure to create your design at the correct size and resolution for your chosen temporary tattoo method.
Hand-Drawn Design
If you prefer to draw your tattoo by hand, use a fine-tipped pen or marker on a piece of paper. Once you’re happy with your design, you can scan it into your computer and use graphic design software to clean it up and resize it if necessary. You can also use hand-drawn designs with the stencil method.
Step-by-Step Guide: Creating a Temporary Tattoo with Tattoo Paper
Let’s walk through the process of creating a temporary tattoo using tattoo paper. This is a popular method that offers a good balance of quality and ease of use.
- Create Your Design: Use graphic design software or a hand-drawn design to create your tattoo. Make sure the design is mirrored (flipped horizontally) so that it appears correctly when applied to your skin.
- Print Your Design: Load the tattoo paper into your printer and print your design. Follow the manufacturer’s instructions for printing.
- Apply Adhesive Sheet: Peel off the adhesive sheet and carefully apply it to the printed design. Use a credit card or other flat object to smooth out any air bubbles.
- Cut Out the Tattoo: Use scissors or a craft knife to carefully cut out the tattoo design, leaving a small border around the edges.
- Apply the Tattoo: Clean the skin where you want to apply the tattoo with rubbing alcohol. Peel off the plastic backing from the tattoo and place the tattoo face down on your skin.
- Wet the Tattoo: Use a damp cloth or sponge to thoroughly wet the back of the tattoo paper.
- Remove the Paper: After 30-60 seconds, carefully peel off the paper backing.
- Let it Dry: Allow the tattoo to dry completely before touching it.
Tips for Designing a Great Temporary Tattoo
Here are some tips to help you design my own temporary tattoo that looks great and lasts as long as possible:
- Keep it Simple: Intricate designs can be difficult to apply and may not look as good as simpler designs.
- Use Bold Lines: Thin lines may fade or disappear quickly.
- Choose the Right Colors: Some colors may not show up well on certain skin tones.
- Consider Placement: Choose a location on your body that is relatively flat and free of hair.
- Protect Your Tattoo: Avoid rubbing or scratching the tattoo, and avoid using oily lotions or soaps.
Safety Considerations
When using temporary tattoos, it’s important to be aware of potential safety concerns. Some temporary tattoo inks, particularly black henna, can cause allergic reactions and skin irritation. Always use FDA-approved temporary tattoo inks and follow the manufacturer’s instructions carefully. If you experience any skin irritation, remove the tattoo immediately and consult a doctor.
[See also: Temporary Tattoo Removal]
Conclusion: Express Yourself with a Custom Temporary Tattoo
Designing your own temporary tattoo is a fun and creative way to express yourself without the commitment of a permanent tattoo. Whether you’re testing out a design, creating a unique look for a special event, or simply enjoying the artistic process, the possibilities are endless. By following the tips and guidelines in this guide, you can design my own temporary tattoo that looks great and lasts as long as possible. So, get creative and start designing your own temporary tattoos today!
Remember to always prioritize safety and use FDA-approved products when creating and applying temporary tattoos. With a little creativity and effort, you can create stunning and personalized body art that will turn heads and express your unique style. The ability to design my own temporary tattoo empowers you to experiment with different looks and express your individuality in a fun and temporary way.
