Mastering the Art of Shading Designs for Tattoos: A Comprehensive Guide
The world of tattooing is a vibrant tapestry woven with intricate designs, bold lines, and subtle nuances. Among the various techniques that bring these designs to life, shading designs for tattoos stand out as a crucial element. Shading adds depth, dimension, and realism to tattoos, transforming a simple outline into a captivating work of art. This comprehensive guide explores the diverse techniques, styles, and considerations involved in mastering the art of shading designs for tattoos.
Understanding the Fundamentals of Tattoo Shading
Before diving into specific shading designs for tattoos, it’s essential to grasp the underlying principles. Shading, at its core, involves using varying degrees of ink saturation to create the illusion of light and shadow. This creates a three-dimensional effect on the two-dimensional surface of the skin.
Key Elements of Shading
- Light Source: Identifying the primary light source is paramount. This determines where highlights and shadows will fall within the design.
- Value: Value refers to the lightness or darkness of a color. In tattooing, value is controlled by the concentration of ink used.
- Contrast: Contrast is the difference between the lightest and darkest areas. High contrast creates a dramatic effect, while low contrast results in a softer, more subtle look.
- Blending: Seamless blending is crucial for smooth transitions between different shades. This requires a steady hand and careful control of the tattoo machine.
Different Tattoo Shading Techniques
Several distinct techniques are employed in shading designs for tattoos, each offering a unique aesthetic and requiring specific skills.
Solid Shading
Solid shading involves filling an area with a consistent, uniform tone of ink. This technique is often used for backgrounds, silhouettes, and areas requiring a bold, graphic look. It requires precise control of the tattoo machine to avoid unevenness or inconsistencies in the ink saturation.
Whip Shading
Whip shading is a technique that involves creating a gradient effect by flicking the needle out of the skin at the end of each stroke. This creates a soft, textured appearance and is often used for blending and creating subtle shadows. Mastering whip shading requires a delicate touch and consistent hand movement.
Stipple Shading
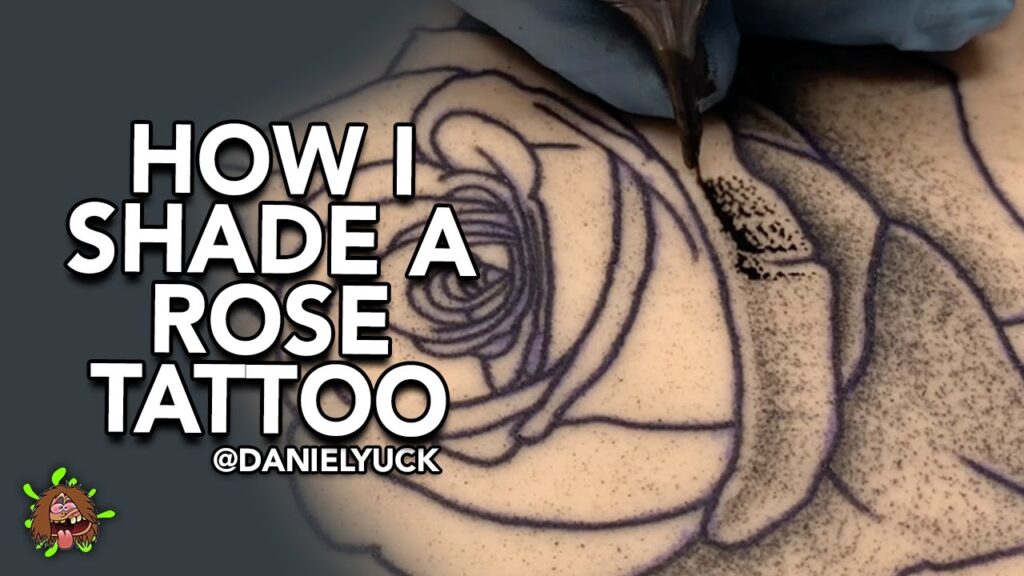
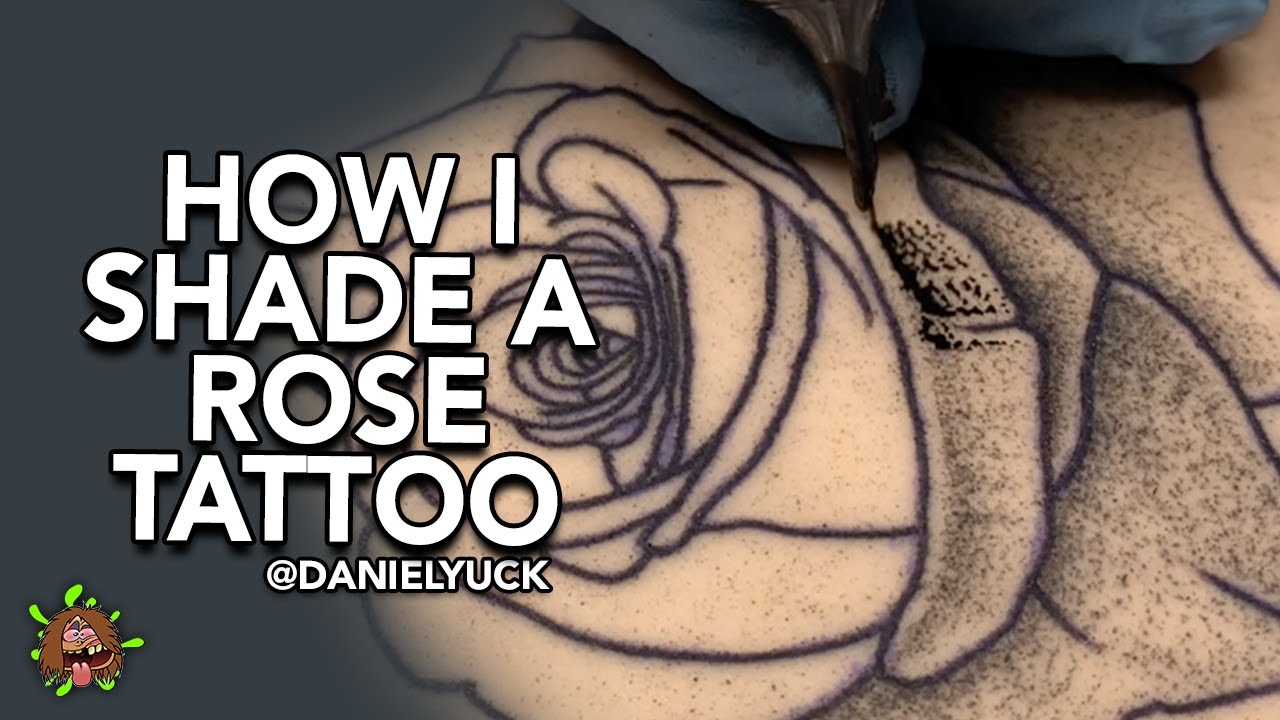
Stipple shading, also known as dot shading, involves creating a shaded effect by applying numerous small dots of ink. The density of the dots determines the darkness of the shade. This technique is time-consuming but can produce stunning results, particularly for creating realistic textures and subtle gradients. The spacing and size of the dots are crucial for achieving the desired effect in shading designs for tattoos.
Pepper Shading
Similar to stipple shading, pepper shading uses slightly larger and more irregularly spaced dots. This creates a more textured and organic look, often used for depicting skin textures, aging effects, or adding a gritty feel to the tattoo. Pepper shading is a versatile technique in shading designs for tattoos, allowing for a more artistic and less uniform look.
Grey Wash Shading
Grey wash shading involves using diluted black ink to create a range of grey tones. By varying the dilution ratio, tattoo artists can achieve subtle gradations and realistic shading effects. This technique is widely used in black and grey realism tattoos, allowing for smooth transitions and nuanced detailing. The key to successful grey wash shading designs for tattoos lies in the precise mixing and application of the diluted inks.
Choosing the Right Shading Style for Your Tattoo Design
The choice of shading technique depends on several factors, including the overall style of the tattoo, the desired effect, and the artist’s expertise. Consider the following when selecting a shading design for tattoos:
- Style of Tattoo: Realistic tattoos often benefit from grey wash shading or stipple shading, while traditional tattoos may utilize solid shading or whip shading.
- Desired Effect: Do you want a bold, dramatic look or a soft, subtle effect? Solid shading creates a bold look, while whip shading and stipple shading offer more subtle results.
- Artist’s Expertise: Choose an artist who is proficient in the shading technique you desire. Not all artists are equally skilled in every technique.
- Skin Tone: Lighter skin tones can handle a wider range of shading techniques, while darker skin tones may require more careful consideration of ink saturation and contrast.
Considerations for Tattoo Shading Designs
Beyond the specific techniques, several other factors contribute to successful shading designs for tattoos.
Needle Configuration
The type of needle used for shading can significantly impact the final result. Magnum needles, which consist of multiple needles arranged in a flat row, are commonly used for solid shading and grey wash shading. Round shader needles, which are grouped in a circular configuration, are often preferred for whip shading and stipple shading. The choice of needle depends on the desired effect and the artist’s preference. Selecting the correct needle configuration is crucial for achieving optimal results in shading designs for tattoos.
Ink Quality
Using high-quality tattoo ink is essential for achieving vibrant, long-lasting shading. Poor-quality ink can fade quickly or result in uneven shading. Choose reputable brands known for their consistency and colorfastness. The quality of the ink directly impacts the final appearance and longevity of the shading designs for tattoos.
Machine Settings
Adjusting the tattoo machine’s voltage and speed is crucial for controlling the ink flow and penetration. Lower voltage and slower speeds are generally preferred for shading, as they allow for more precise control and prevent over-saturation. The optimal machine settings depend on the specific shading technique and the artist’s experience. Fine-tuning the machine settings is paramount for achieving precise and controlled shading designs for tattoos.
Skin Preparation and Aftercare
Proper skin preparation and aftercare are essential for ensuring optimal healing and preventing infections. Cleanse the skin thoroughly before tattooing and follow the artist’s aftercare instructions diligently. Proper aftercare helps preserve the integrity and vibrancy of the shading designs for tattoos. [See also: Tattoo Aftercare Tips]
Examples of Shading Designs in Different Tattoo Styles
Let’s examine how shading is used in various tattoo styles to enhance their visual appeal.
Realism
In realism tattoos, shading is paramount for creating lifelike depictions of subjects. Grey wash shading and stipple shading are commonly used to capture subtle variations in tone and texture. The goal is to replicate the appearance of the subject as accurately as possible, relying heavily on nuanced shading designs for tattoos.
Traditional
Traditional tattoos often feature bold outlines and solid shading. Solid shading is used to fill in large areas with consistent color, creating a graphic and impactful look. Whip shading may also be used to add subtle depth and dimension. The emphasis is on clear, defined shapes and strong contrast in shading designs for tattoos.
Neo-Traditional
Neo-traditional tattoos combine elements of traditional and realism styles. They often feature bold outlines and vibrant colors, with more detailed shading and blending than traditional tattoos. Grey wash shading and whip shading are commonly used to create smooth transitions and add depth to the designs. Neo-traditional shading designs for tattoos aim for a more refined and contemporary aesthetic.
Watercolor
Watercolor tattoos mimic the look of watercolor paintings, with soft, flowing colors and blurred edges. Shading is used sparingly to create subtle depth and dimension. Whip shading and stipple shading can be used to add texture and create a sense of movement. The key is to maintain the light and airy feel of watercolor in shading designs for tattoos.
Common Mistakes to Avoid in Tattoo Shading
Even experienced tattoo artists can make mistakes when shading. Here are some common pitfalls to avoid:
- Over-saturation: Applying too much ink can result in a muddy or blurred appearance.
- Uneven Shading: Inconsistent hand movement or machine settings can lead to uneven shading.
- Poor Blending: Abrupt transitions between different shades can create a jarring effect.
- Ignoring the Light Source: Failing to consider the light source can result in unrealistic shading.
- Using the Wrong Needle: Using an inappropriate needle can make it difficult to achieve the desired effect.
Avoiding these mistakes requires practice, attention to detail, and a thorough understanding of shading designs for tattoos.
The Future of Tattoo Shading
The art of tattoo shading continues to evolve with advancements in technology and techniques. New needle configurations, inks, and machines are constantly being developed, allowing artists to push the boundaries of what’s possible. The future of shading designs for tattoos promises even greater realism, detail, and artistic expression. Artists are experimenting with new approaches and pushing the boundaries to create unique and innovative designs.
Conclusion
Mastering the art of shading designs for tattoos is a complex and challenging endeavor. It requires a deep understanding of light and shadow, a steady hand, and a keen eye for detail. By mastering the various shading techniques and considering the factors discussed in this guide, tattoo artists can create stunning, three-dimensional tattoos that stand the test of time. Whether it’s solid shading, whip shading, stipple shading, or grey wash shading, each technique offers unique possibilities for enhancing the visual impact of tattoo art. The key is to choose the right shading style for the design and execute it with precision and skill. With dedication and practice, any tattoo artist can elevate their work through the artful application of shading designs for tattoos. [See also: Choosing a Tattoo Artist]

